
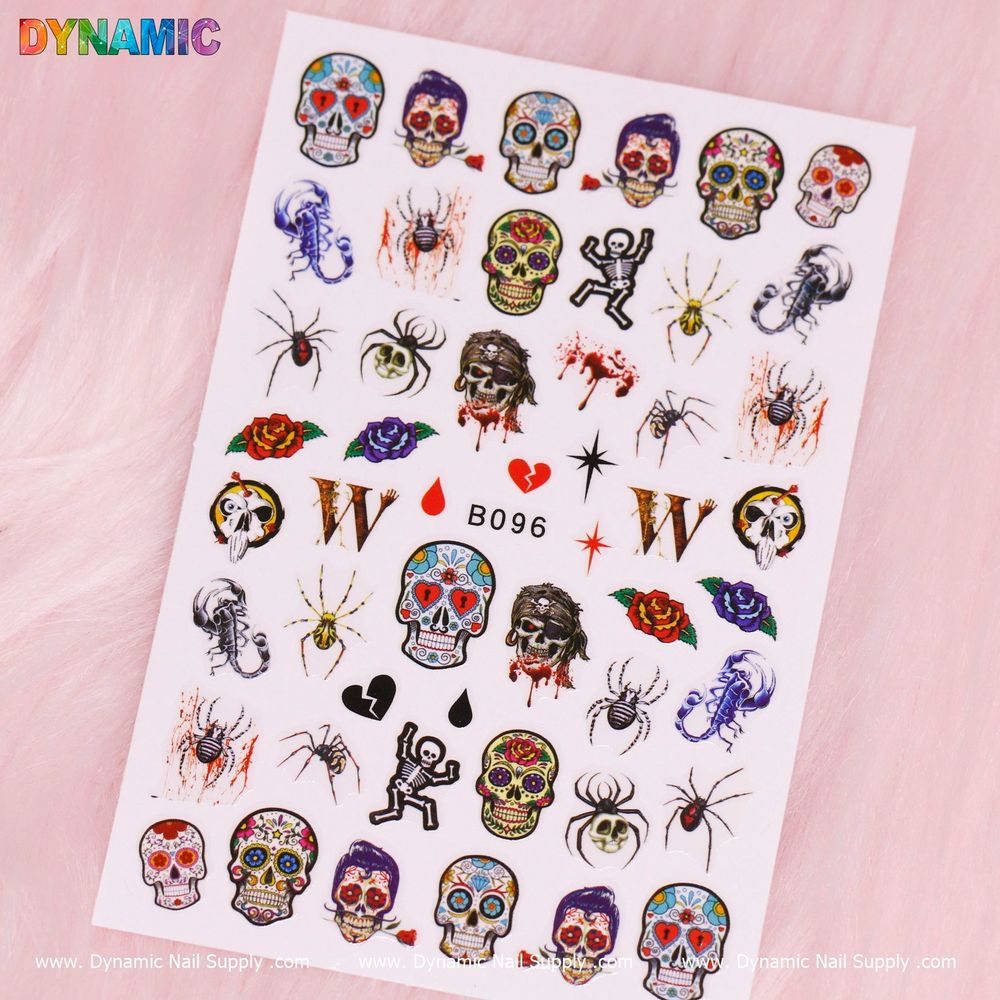
Want intricate Day of the Dead nail art without long hours at the table? Themed nail stickers deliver bold motifs—sugar skulls, spiders, and haunted accents—so you can get striking holiday nails fast. This guide walks you through a professional workflow that works in a salon or at home.
Before you start, pick the exact sticker sheet you want; for example, choose designs that match your vibe—cute sugar skulls or creepy spiders. If you need a ready option, look for a sheet like this day of the dead sticker: day of the dead sticker.
Why choose themed nail stickers for Day of the Dead looks
Nail stickers are a time-saving way to get highly detailed art without freehand painting. They put complex imagery—skulls, scorpions, blood accents, and ghostly figures—on your nails in seconds. For the Day of the Dead season or Halloween, stickers let you mix motifs and build a coordinated set quickly, which is ideal for clients who want bold holiday nails but don’t have time for lengthy sessions.
Tools and supplies to have on hand
- Tweezers or a precision pick for handling stickers
- Fine scissors or nail clippers to trim oversized decals
- File and buffer to shape and smooth nails
- Base coat and a high-shine top coat (or gel equivalents if you work with curing systems)
- Isopropyl alcohol or nail cleanser to remove oils
- Cuticle pusher for neat nail beds
Prep: the professional foundation
Good preparation makes the difference between stickers that look amateur and nails that read salon-quality. Start by removing old polish, then push and trim cuticles for a clean canvas. Lightly buff the nail surface to remove shine so stickers adhere reliably. Finish by wiping each nail with alcohol or a nail cleanser to remove oils and dust.
Step-by-step application for a flawless finish
- Base coat: Apply a thin layer of base coat and let it dry fully. This protects the natural nail and gives the sticker something to bond to.
- Plan the layout: Hold stickers over nails to choose placement before removing backing. Mix small and large motifs—sugar skulls for focal nails, spiders or blood drops as accents.
- Trim and shape: If a sticker is too wide, trim it with small scissors. For multi-piece designs, cut into smaller elements to place exactly where you want them.
- Apply carefully: Use tweezers to lift a sticker, place it on the nail, then press from center to edges to avoid air pockets. Smooth with a silicone tool or a clean fingertip.
- Seal the design: Apply one or two coats of a reliable top coat, sealing the edges well to prevent lifting. If you prefer gel, follow the gel top coat manufacturer’s curing instructions.
- Edge cleanup: File the free edge gently to remove any sticker overhang and finish with cuticle oil to nourish the area.
Pro tips to make stickers last and look custom
- Place focal images on your ring and middle fingers for the most visual impact.
- Layer small decals over a gradient or metallic base to add depth without more painting.
- Use a thin top coat for a natural look; thicker top coats add durability but can soften intricate detail.
- If a sticker peels at the edge, press it down and apply an extra thin strip of top coat over the lift—avoid thick pools that will show as ridges.
Key features in context
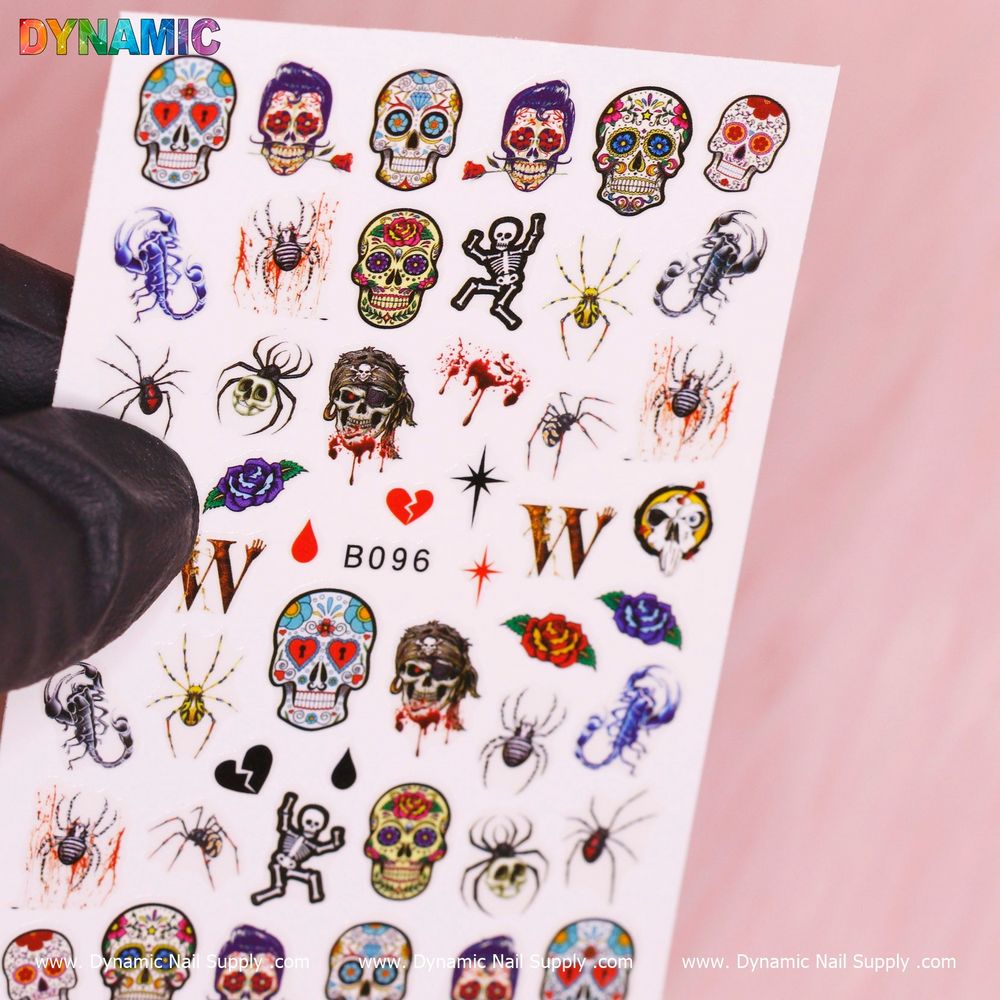
This Day of the Dead-themed sticker sheet offers instantly recognizable holiday motifs—sugar skulls, skeletons, spiders, scorpions and other spooky accents—so you can craft coordinated sets quickly. At a wallet-friendly price of $2.00 per sheet, stickers are economical for one-off looks, event sets, or salon add-ons. Because designs are compact, they’re ideal for accent nails or mixed-media sets where you combine decals with polish or chrome powders.
Who should use these stickers
These stickers are a great fit for nail professionals who need fast, repeatable designs for seasonal clients and for home users seeking salon-style results without specialized painting skills. They also work well for nail artists building a Halloween or Day of the Dead portfolio, or for anyone wanting a quick transformation before a party or photoshoot.
Care, removal, and safety notes
To keep stickers looking fresh, avoid harsh chemicals and prolonged hot water exposure immediately after application. Remove stickers gently with acetone-based polish remover or follow your usual decal-removal routine; soak and slide decals off rather than scraping. Do not apply stickers over irritated or broken skin and stop use if you experience discomfort. Store unused sheets flat and away from heat or direct sunlight to avoid warping.
Final thoughts
Day of the Dead nail stickers let you achieve intricate, themed nail art quickly and affordably. With proper prep, careful placement, and a good top coat, you can create salon-quality results at home or in a busy salon chair. For a reliable supply of seasonal and horror-inspired nail decorations, consider checking your local pro supplier—Dynamic Nail Supply carries a range of nail art options to suit festive looks.
