
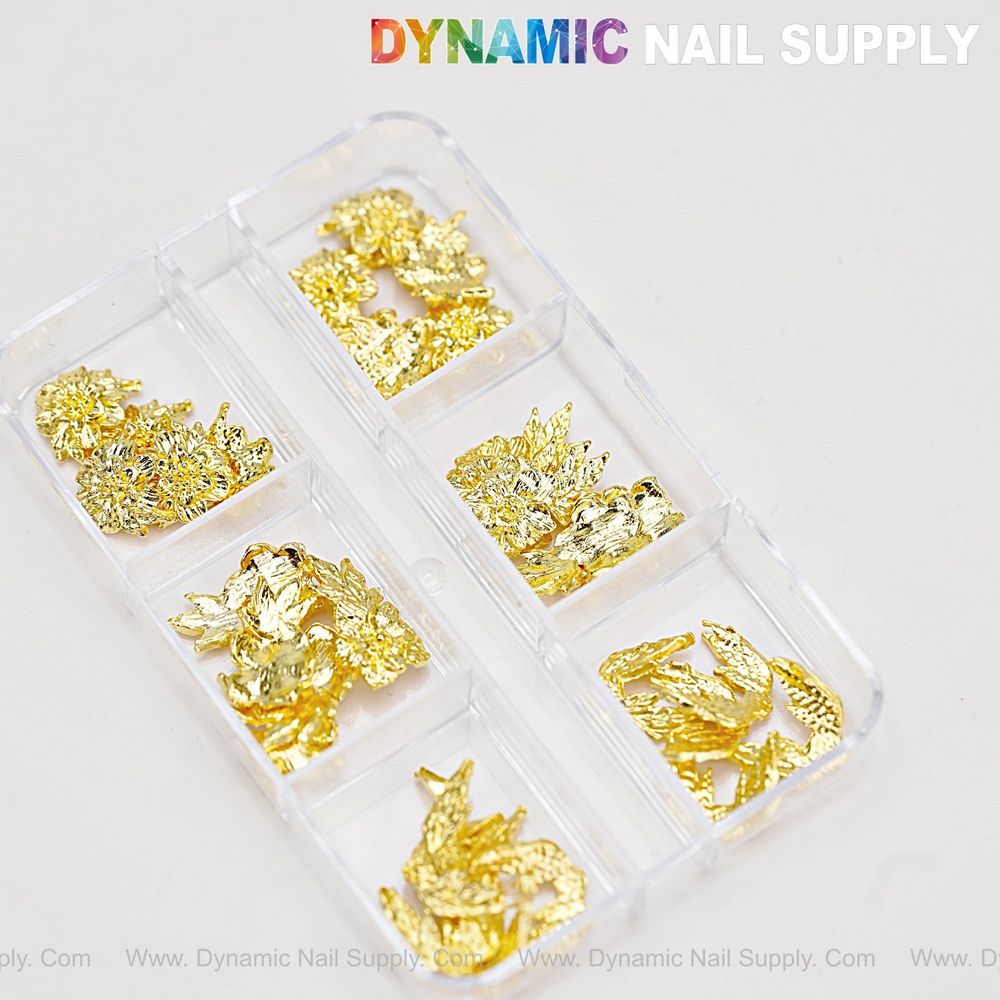
Small metallic accents transform a routine manicure into a memorable service — when they’re applied quickly, securely, and consistently. A gold nail charms set with flower and wing shapes gives techs a reliable, salon-ready option for 3D styling that reads luxe without adding complicated steps to your chairtime.
How these charms fit into a professional service flow
Think of charms as a final design layer: they’re applied after shaping, color, and any structure work, then locked in with a sealing step. On busy days you can treat them like an add-on service: prep once, place strategically, cure or seal, and deliver a finished look that justifies a small upsell.
For easy access and consistent results, keep a dedicated selection of the gold nail charms set kit in your workspace where tools and adhesives live. For a quick reference, add the gold nail charms set kit to your prep tray before your first client of the day.
Preparing and organizing charms for speed
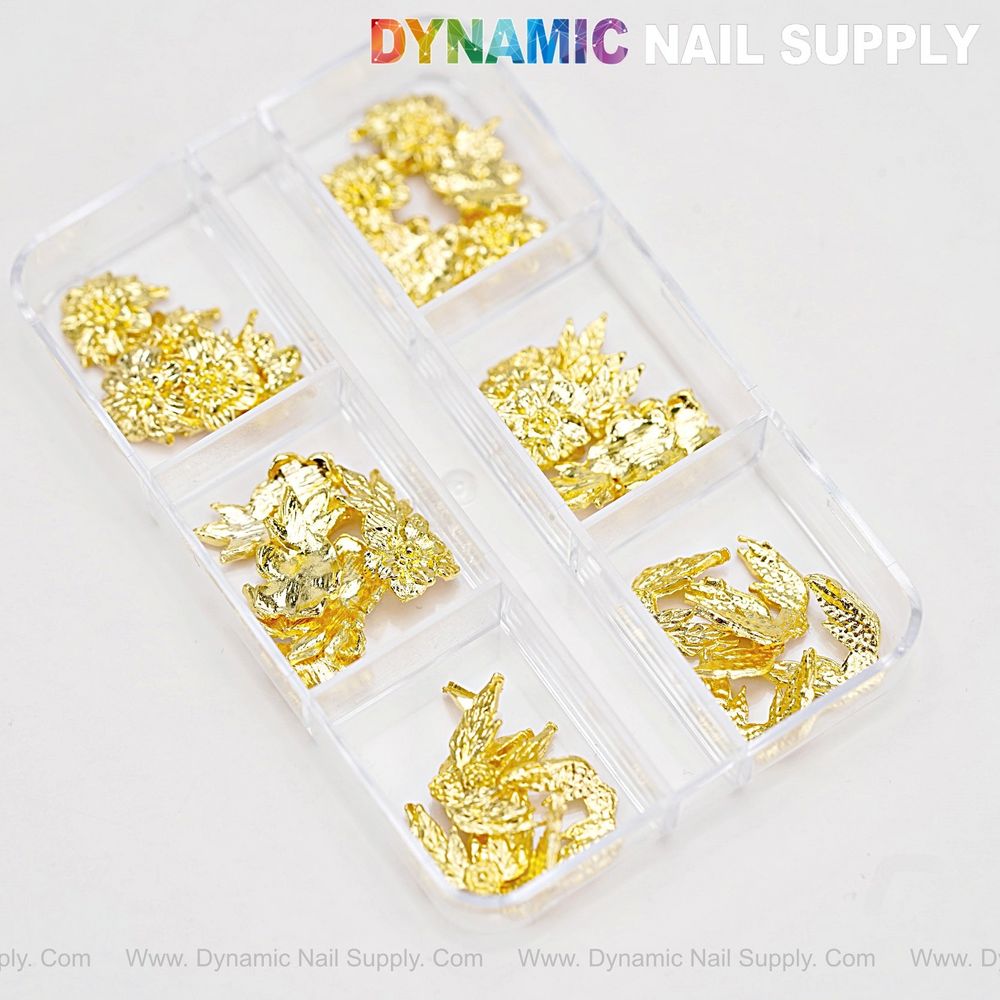
Organization is the difference between a 10‑minute decorative add-on and a 30‑minute time sink. Use small compartment trays, magnetic palettes, or labeled jars to separate flowers, wings and any flatback beads. Lay out common combinations in advance — for example, a single wing at the cuticle with two tiny beads at the tip — so you can repeat bestselling looks without rethinking placement.
- Sort by shape and size to avoid fumbling mid‑service.
- Use a wax picker or silicone tip tool to pick charms cleanly.
- Keep extras nearby in case of dropped pieces.
Step-by-step placement workflow
Below is a repeatable order of operations that fits into most salon services. Adjust sequence slightly if you’re working with acrylic overlays or hard gels that require specific curing approaches.
- Complete nail prep: shape, cuticle work and apply base protocol (base coat or builder product) as you normally would.
- Finish color layer and, if necessary, cure. For gel systems leave a tacky layer when you prefer embedding charms partially for extra hold.
- Place charms using a tiny drop of professional nail adhesive, a dab of builder gel, or by pressing into a still‑tacky gel layer. Position with a wax picker or tip of a cuticle pusher for precision.
- Secure and seal: apply a top coat or curing gel over and around the edges to lock flatback beads and 3D pieces in place. For maximum durability, add top coat over the area and cure as required.
- Final check: ensure edges are sealed, the client is happy with placement, and any excess adhesive is removed.
Key features in salon context
This product focuses on decorative versatility: flower and wing motifs in a gold finish that pair with classic and modern looks alike. Tags associated with the item indicate it’s part of the 3D charms category and includes flatback beads and sparkling accents — elements that allow quick glamour without heavy fabrication time.
- Design variety: flowers and wings provide focal points for single‑nail accents or full‑hand motifs.
- 3D and flatback elements: mix depth with smooth pieces for layered appearances that photograph well.
- Salon stocking: small packs are economical to keep on hand; this particular option is listed at $4.99 while supplies last.
Who this set is for
Professional nail techs, salon owners, and freelance bridal stylists will find this gold nail charms set useful when offering fast decorative upgrades. It’s ideal for:
- Clients who want a luxe detail without extra appointment time
- Bridal parties and event clients seeking coordinated accents
- Salon menus that emphasize express upsells and add‑on profitability
You can source these charms and other trending items from suppliers like Dynamic Nail Supply when restocking embellishments.
Practical usage tips from a workflow perspective
- Set a standard placement map — choose 2–3 go‑to positions (cuticle, ring finger cluster, tip accent) to speed consultations and ensure consistency across techs.
- Prep a ‘charm station’ each morning with commonly used combinations already plated to minimize decision time.
- Train assistants on picking and positioning so the lead tech focuses on finishing and client care.
- Use photos for quick client approvals — keep a small look book of prearranged patterns to show during consults.
Care and safety notes
Charms are decorative elements and should be applied with professional adhesives or appropriate gel products to ensure secure adhesion. Advise clients that 3D pieces can catch on fabrics and may require gentle handling; suggest follow‑up tips for extending wear. Store charms in a dry area away from direct sunlight to protect metallic finishes and prevent tarnishing.
Conclusion
Adding a gold nail charms set to your salon offerings gives you a fast, high‑perceived‑value add‑on that integrates cleanly into standard service flows. With a simple organization system, a repeatable placement routine, and clear client communication, these flower and wing accents can boost ticket averages and client satisfaction without stretching chairtime.
